POUR YOUR OWN CANDLE! JOIN AAA CLUB-BING!
POUR YOUR OWN CANDLE! JOIN AAA CLUB-BING!
By Ana de Villa Singson
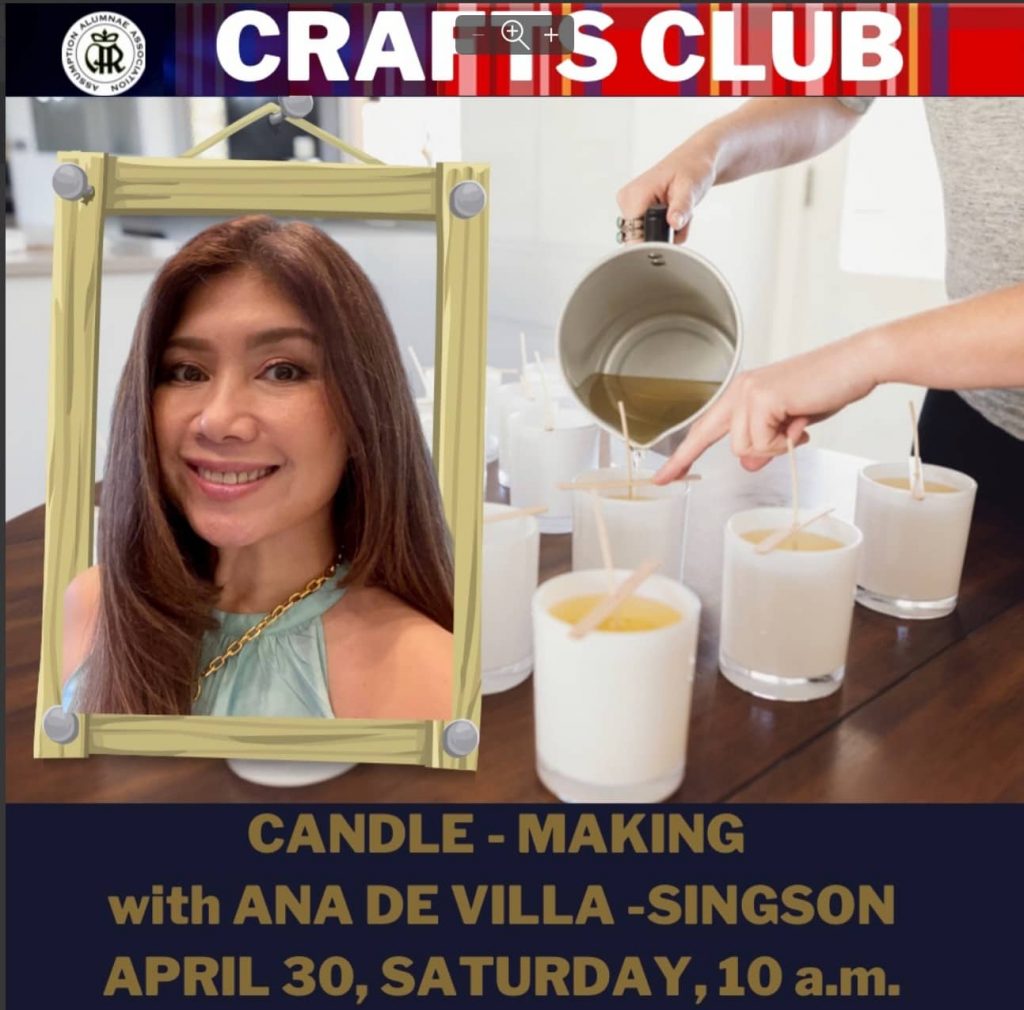
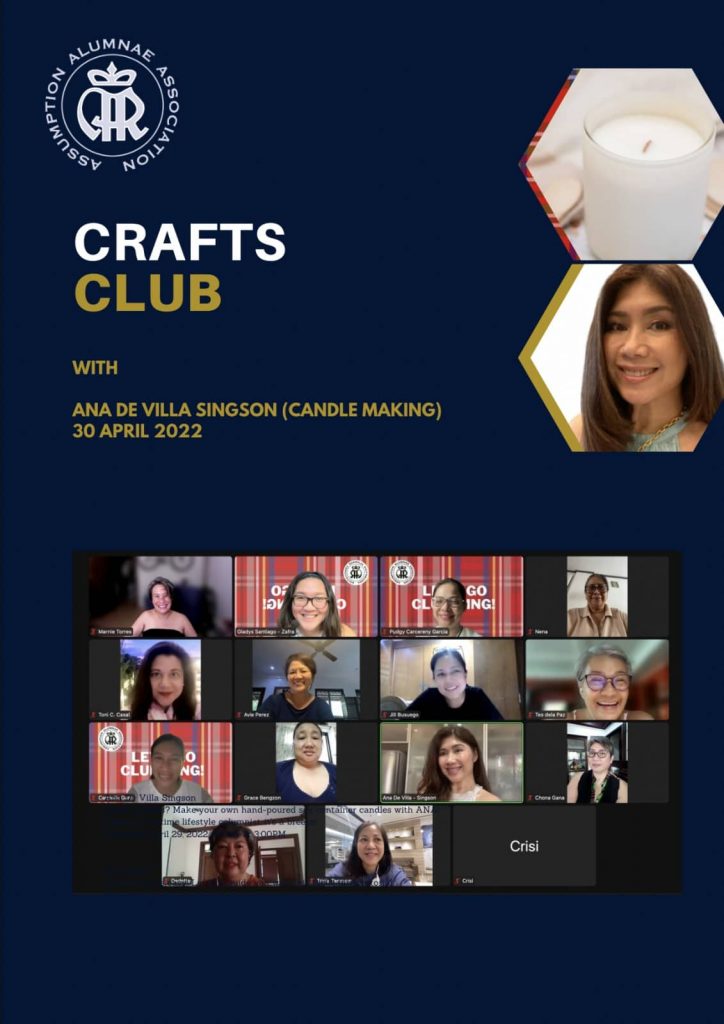
I’ve been pouring my own candles since 2005. I started when I took a long break from work (my first semi-retirement! It took 2 semi-retirements before I actually said good-bye to the corporate world where I was a onetime marketing and sales director). I was fortunate to come across a Dutch liberal arts professor who was vacationing in Manila. I was even more fortunate when he agreed to give me one-on-one lessons on painting, mould making and candle making. In no time, I was fashioning my own candle moulds out of clay and Plaster of Paris and rubber, a messy “get your hands dirty” affair that I incongruously did on my bathroom counter! I made moulded candles (my favorite was an egg shaped paraffin candle that I hand painted in pink and silver! I made pillar candles all scented with high concentrations of fragrance oils and eventually found my way into selling them in some shops in Shangri-la Edsa Mall. I received custom made orders too for candles inlaid with dry leaves and spices partnered with bespoke narra candle holders. Nowadays, I get requests for bespoke candles made with specific color and custom fragrance blends with personalized labels.
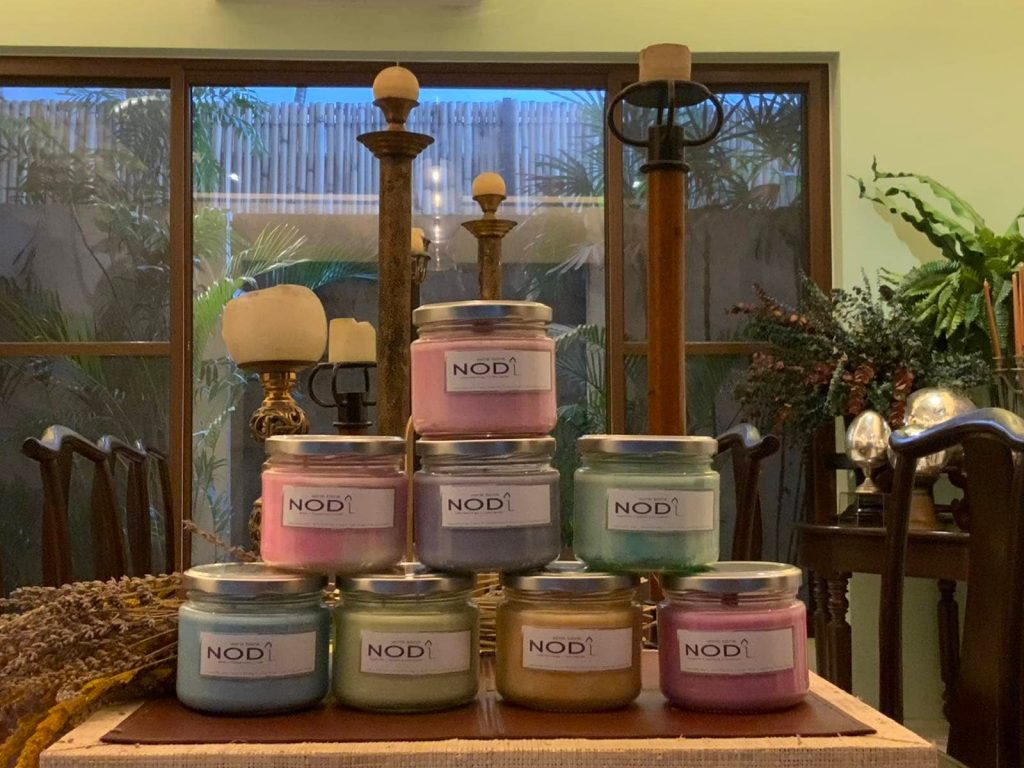
I had a long hiatus before making candles again. Recently, during the pandemic, I took it up again mostly because I was racking up huge bills buying candles for the house and for my husband and son who consume them voraciously (they light up daily when they are reading…the wafting scents and warm lights seem to soothe them). In no time, I taught my sons to pour their own candles and my staff too. After putting up AAA CLUB-BING, I became one of the Crafts instructors and had a one day session on Candle Making.
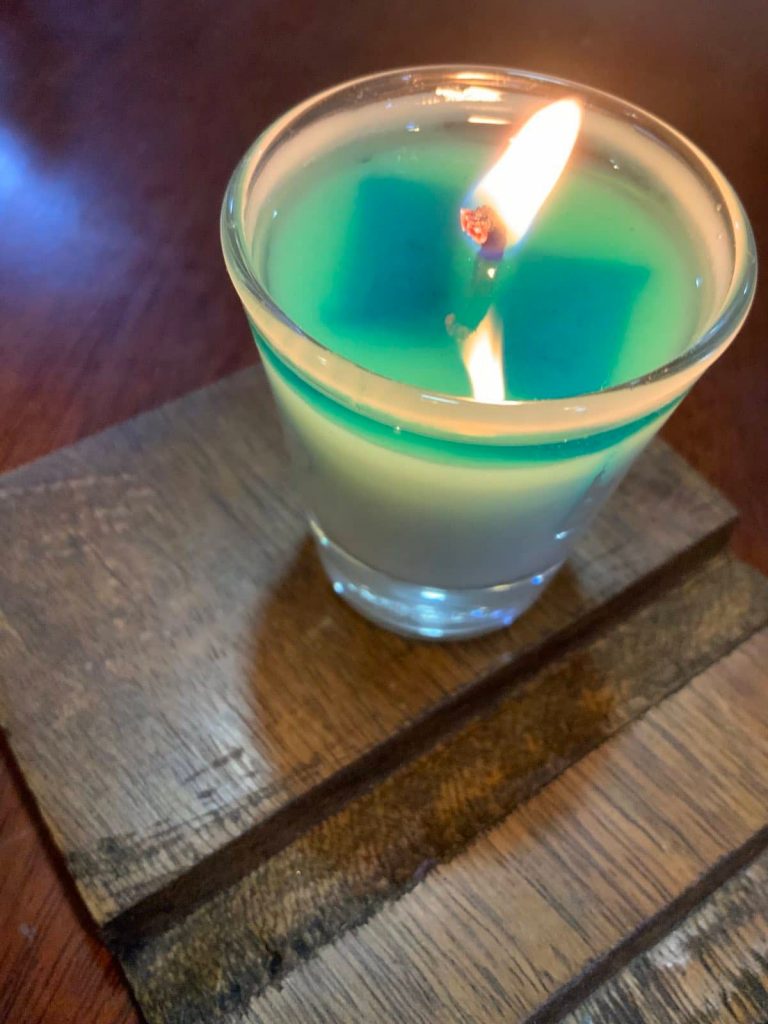
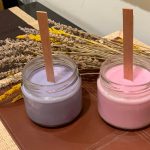
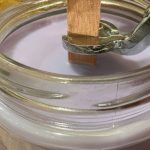
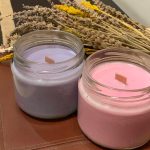
Back in 2005, paraffin was the wax du jour. Paraffin is cheap, plentiful and is easy to work with. It shapes beautifully because it hardens well and can easily take the mould’s shape and it accepts fragrances readily. But as I told my AAA CLUB-bing students, paraffin is a byproduct of the petroleum industry and each time you light it, carbon molecules fill the air, visible through the black soot it marks your shelves, walls and ceiling with. Happily, in this age of environmental protectionism, there are many new options. The current wax of choice is soy. It is vegan, 100% natural, friendly to the ecosystem, lasts long because of its slow burn and has a trendy off-white look. While it has many benefits, it has its drawbacks too: it’s more expensive, it’s too soft to mould and shape on its own, so it’s usually combined with paraffin if you want to shape them by pouring them into moulds ( pillar candles, wax melts, et al), it has large molecules so it doesn’t accept fragrance as readily as paraffin. There are easy solutions to these drawbacks though. Soy candles are usually sold as container candles precisely so they don’t need to be unmoulded. And for the fragrance, they are “cured” for 10 – 14 days (one of the longest curing times among the available waxes) to allow the fragrance to seep through and wrap around those largeish molecules. Problems solved! Nowadays ,there are many other wax options too: beeswax ( beautiful, with it’s own distinct honey scent; it’s not vegan though), coconut, palm ( both beautiful vegan, all natural waxes but a bit more expensive!). But for AAA Craft Club’s CandleMaking 101, we focused on soy wax container candles, candles scented and poured into containers.
There is a science to Candle Making and it infuriates me when I watch Youtubers blithely saying that you can just pop your chosen wax into the microwave to zap and melt them. That is dangerous! Different waxes have different flash points, the point at which they will ignite and cause a larger flame than you had anticipated. They also have different fragrance incorporation points, the temperature at which you add the fragrance into your melted heated wax. Different waxes tolerate different levels of fragrance. Gel fragrances, beautiful jelly-like, transluscent creations can only accept 5% level of fragrance ( so they are gorgeous and dramatic to look at but not strong on aromatherapy). They also have different pouring temperatures ( the temperature range at which you can pour them into your selected container or mould) and curing times ( the interval between the time when the candle is poured and it is first lit). All these have to be considered to make sure that your candle actually lights up, has a good cold throw ( smells divine unlit) and hot throw ( diffuses the fragrance and throws it far and wide when actually lit) and doesn’t have imperfections like cracks, sink holes, bubbles. So here’s a cautionary tale: avoid a potential flare up and candles that don’t light or smell good by taking the time to read up from credible sources. If they tell you to melt and pour and microwave without giving you proper temperatures and curing time, ignore them and move on. There are many more credible sources and references.
As I promised my students, here’s a quick guide on different temperature points and curing times. I’m also adding a few tips on Candle Care. Watch the video too! Before you know it, you’ll be pouring your own candles.
I enjoy candles! I call mine WINK, BLINK, NOD. A notorious insomniac, sleep comes to me very fleetingly. So I often light up a candle and pray that it’s fragrance and warmth help lull me to relax and sleep. In a wink, in a blink, I hope to nod off!
Happy Candle Making! Be safe, be sure… and follow the guidelines.
A GUIDE TO DIFFERENT WAXES:
WAX TYPES | PROS | CONS |
Paraffin | Easily available | By product of the petroleum industry Faster burn than other candles so it won’t last as long |
Soy ( one of the newest waxes) | 100% vegan | Long Curing time ( 10 -14 days) Natural oils of soy may cause “sweating” |
Coconut | 100% vegan Very slow and clean burn | Relatively expensive in the Philippines Natural oils of coconut makes it prone to “sweating” |
BEESWAX ( the olden form of wax, harkens to the Egyptian times) | Natural, comes from bees Has its own unique sweet honey-like smell Can be shaped and moulded into standalone pillar candles | Expensive in the Philippines and not as readily available Not vegan |
PALM | 100% vegan Very slow and clean burn | Relatively expensive and not as accessible as pure palm wax in the Philippines |
GEL | Dramatic when lit because of jelly-like, translucent look | Low fragrance tolerance so it won’t accept much fragrance Can ignite, so follow temperature guidelines strictly when using gel wax |
MY GUIDELINES FOR KEY TEMPERATURE (in fahrenheit) AND CURING TIMES ( in days)
WAX TYPE | FLASH POINT | MELTING POINT (wax liquifies at this temperature) | TEMPERATURE FOR INCORPORATING FRAGRANCE | POURING POINT (pour your heated, scented wax into your container / mould at this temperature) | CURING TIME (storing time before you light the candle for the first time) |
PARAFFIN | 245 – 280 | 180 | 180 – 185 | 170 – 180 | 2-3 days |
SOY | 185++ | 185 | 150-165 | 135 | 10-14 days |
COCONUT | 180 | 100 – 110 | 130 | 110 | 2 days |
BEESWAX | 205 | 145 – 150 | 160 – 180 | 140 – 150 | 2 days |
PALM | Above 240 | 190 – 200 | 205 | 200 | 1-2 days |
GEL | 240-280 | 200-225 | 185 – 200 | 185 – 200 | 2 days |
A FEW REMINDER MAKING AND CARING FOR CANDLES:
1. Follow the temperature guides for the best throw and the most unblemished candle.
2. Check specific pouring points of each fragrance. Some fragrances have a flash point of 160 (Fahrenheit\) and can only be be added at lower temperatures.
3. For gel candles, use fragrances only with a flash point of above 170 Fahrenheit.
4. When adding color use dyes, not pigments. Dye will incorporate into the wax while pigments will suspend in tiny bubbles causing murky and weak colors.
5. Pour low to avoid bubbles.
6. When curing candles, avoid varying room temperature. Changes in room temperature can cause “sweating” when wax molecules contract and expand, squeezing out fragrance oil causing “sweat”.
9.Use a heat gun to smooth out surface imperfections. You may also pour another layer of wax to cover up surfaced blemishes.
10. Trim wick to ¼ of an inch. Sometimes, candles don’t light because the wick is too long or too rimmed with ash from previous burns.
11. When lighting a candle for the first time, leave the flame on for 1-2 hours or until maximum melt pool is achieved. Melt pool is the liquified wax which results from burning a candle. Maximum melt pool is achieved when wax liquifies until the very edge of the candle or the candle’s container.
12, Do not place a lit candle near or on a hot surfaced (i.e. oven). It will ignite given the additional heat on top of the heat caused by burning the candle’s wick and drawing up the “fuel” from the capillary action of the heated wax climbing up the wick.
13, Do not leave a lighted candle unattended. If you will be burning overnight, use wax melts which have no flame but use wax/ candle lamps which use electric bulbs as heat source to melt your wax and release the fragrance.
Our next AAA Craft session will be on Dressmaking. Watch out for the announcement here and through your Batch Reps.
To join, simply register AAA CLUB-BING! It’s easy to join! Just click the link below .
Open to all AAA registered members! Not yet a member? Just pay the Php 500 AAA annual membership fee and you can join all the Clubs of your choice. 2 ways to pay:
1. Deposit to ASSUMPTION ALUMNAE ASSOCIATION, Union Bank Account # 034030018335. Please send a copy of the deposit slip to aaafinance@assumption.edu.ph and to 0917 5372066 (Ana). Please indicate your name, batch and label as AAA CLUB-BING!
2. Gcash to 0917 5372066 (Ana D Singson). Please send a copy of the deposit slip to aaafinance@assumption.edu.ph and to 0917 5372066 (Ana). Please indicate your name, batch and label as AAA CLUB-BING!
Not yet ready to commit to a full membership? You can join individual sessions for Php 200/ session. Same payment options as above!
Join us! See you on July 14 at 11 a.m. Let’s go Club-bing!

